Did you know you can easily serve static sites from the Edge with Fastly? Here’s how to get a Gatsby site published on Fastly’s Compute@Edge for free in less than 2 minutes 💨
Table of contents
Quick background
What is Gatsby, and why would you want to put it on Compute@Edge?
Gatsby is an open source framework that allows you to create websites using React. There are a number of pros to Gatsby and the Jamstack approach in general, including performance, scalability, and security.
Compute@Edge allows you to deploy and run logic for any application or backend service on Fastly’s Edge platform. That means you get the benefits of serverless computing being delivered even closer to the end-user, with no cold starts or roundtrip delays — it’s super fast.
By deploying a Gatsby site (or any site) to Compute@Edge, you can create fantastic end-user experiences, like providing instant language localization, serving localized content, and much more – all without having to manage the underlying infrastructure!
Let's get started
Prerequisites
- Have at least Node 16 with NPM installed on your machine
- Create a free Fastly account
- Install the Fastly CLI and set yourself up with a valid auth token
On to the good stuff
First, in your terminal, run npm init gatsby. This will take you into an interactive prompt with options to name your site, specify a folder to create, choose whether to use JavaScript or TypeScript, etc.

Next, navigate into your newly minted project by running cd [your-project-name]. For my example, I can run cd gatsby-on-compute. (I won’t go over the specifics of Gatsby, but if you’re interested in learning more about how Gatsby works, check out their tutorial.)
Now that you’re in your project’s directory, go ahead and build the site by running npm run build. This will produce a ./public folder with all of your built static files (like HTML, CSS, vanilla JS, and images).
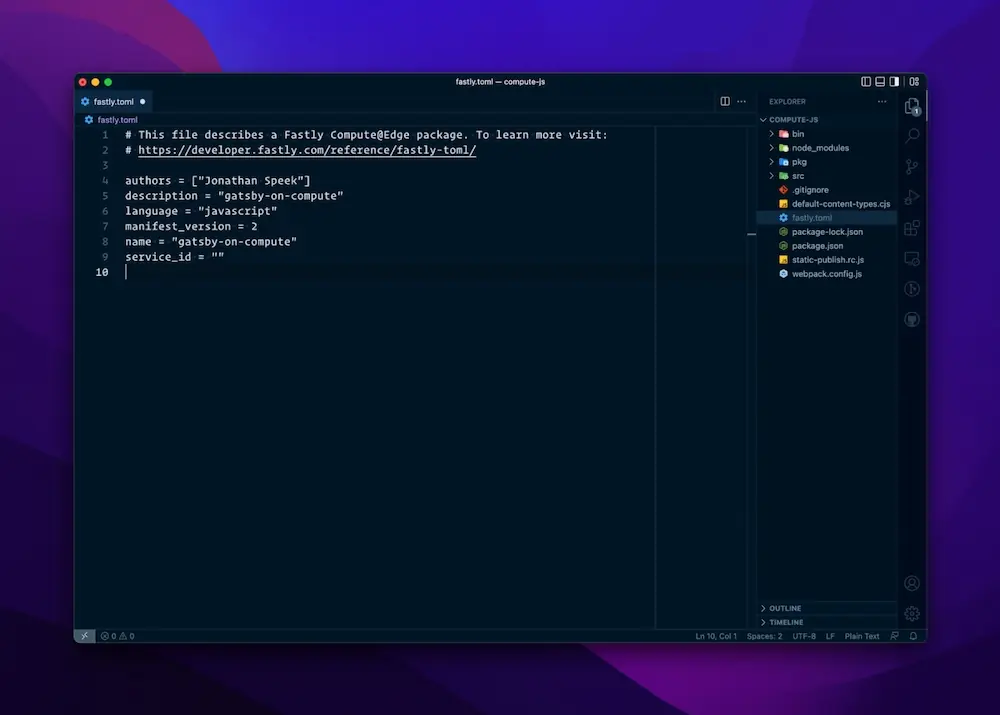
Now that we have our project’s build complete, run npx @fastly/compute-js-static-publish --public-dir=./public --service-id="". This uses Fastly’s Static Publisher for JavaScript to generate a Compute@Edge application in a new directory that can be found in ./compute-js. It also points to your build by using the —public-dir=./public. If you look in your new fastly.toml file that was created, you’ll see that service_id is set to "". If you already have a Compute service you want to use, you can fill in the ID here. Otherwise, leave it as an empty string and the Fastly CLI will create a new service for you and fill it in like magic. ✨
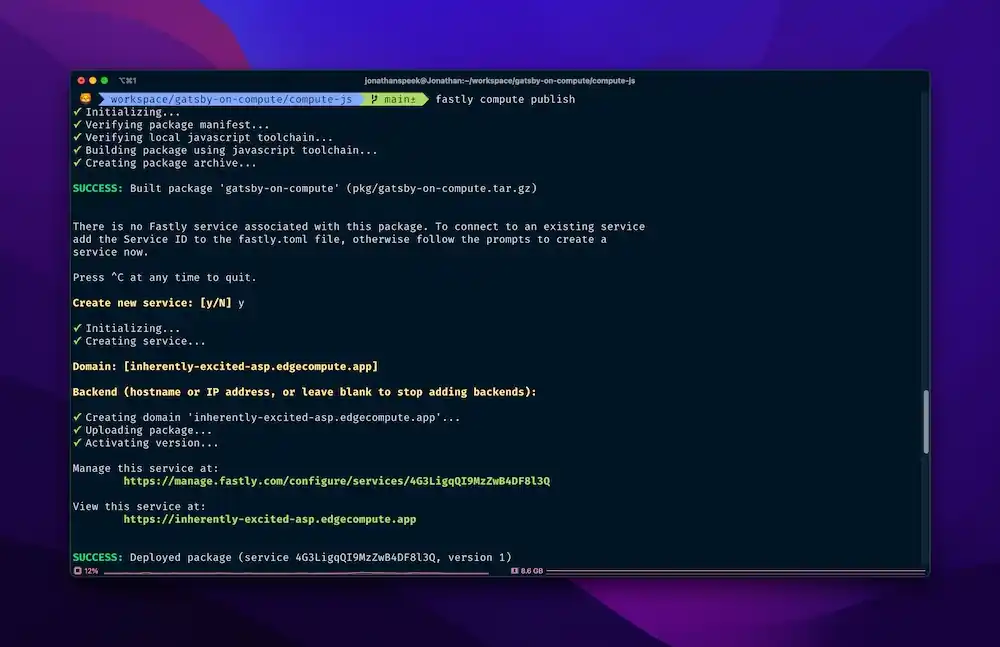
Next, let’s cd ./compute-js and run fastly compute publish. This will run the build and then provide an interactive prompt helping you create a new service, allow you to change the default random domain, and add a backend (if needed). With Static Publisher, we don’t need to use or configure a backend, so we can just accept the defaults here.
Once it’s done creating the service and domain, uploading the package, and activating the version – you’re up and running! You can view the newly created service or manage it with the links provided. See this one LIVE here. 👀
Outro
Want to publish to Compute@Edge using other frontend frameworks? Stay tuned for upcoming articles!
Project Links
- Website: LIVE Demo