Fastly recently made it so that free developer accounts ($50/month usage limit) can connect custom domains to services with the protection of Let's Encrypt (see blog post here). This meant I could finally move my site off of Netlify (my previous employer and who I still adore) to be fully hosted on Fastly's Compute@Edge!
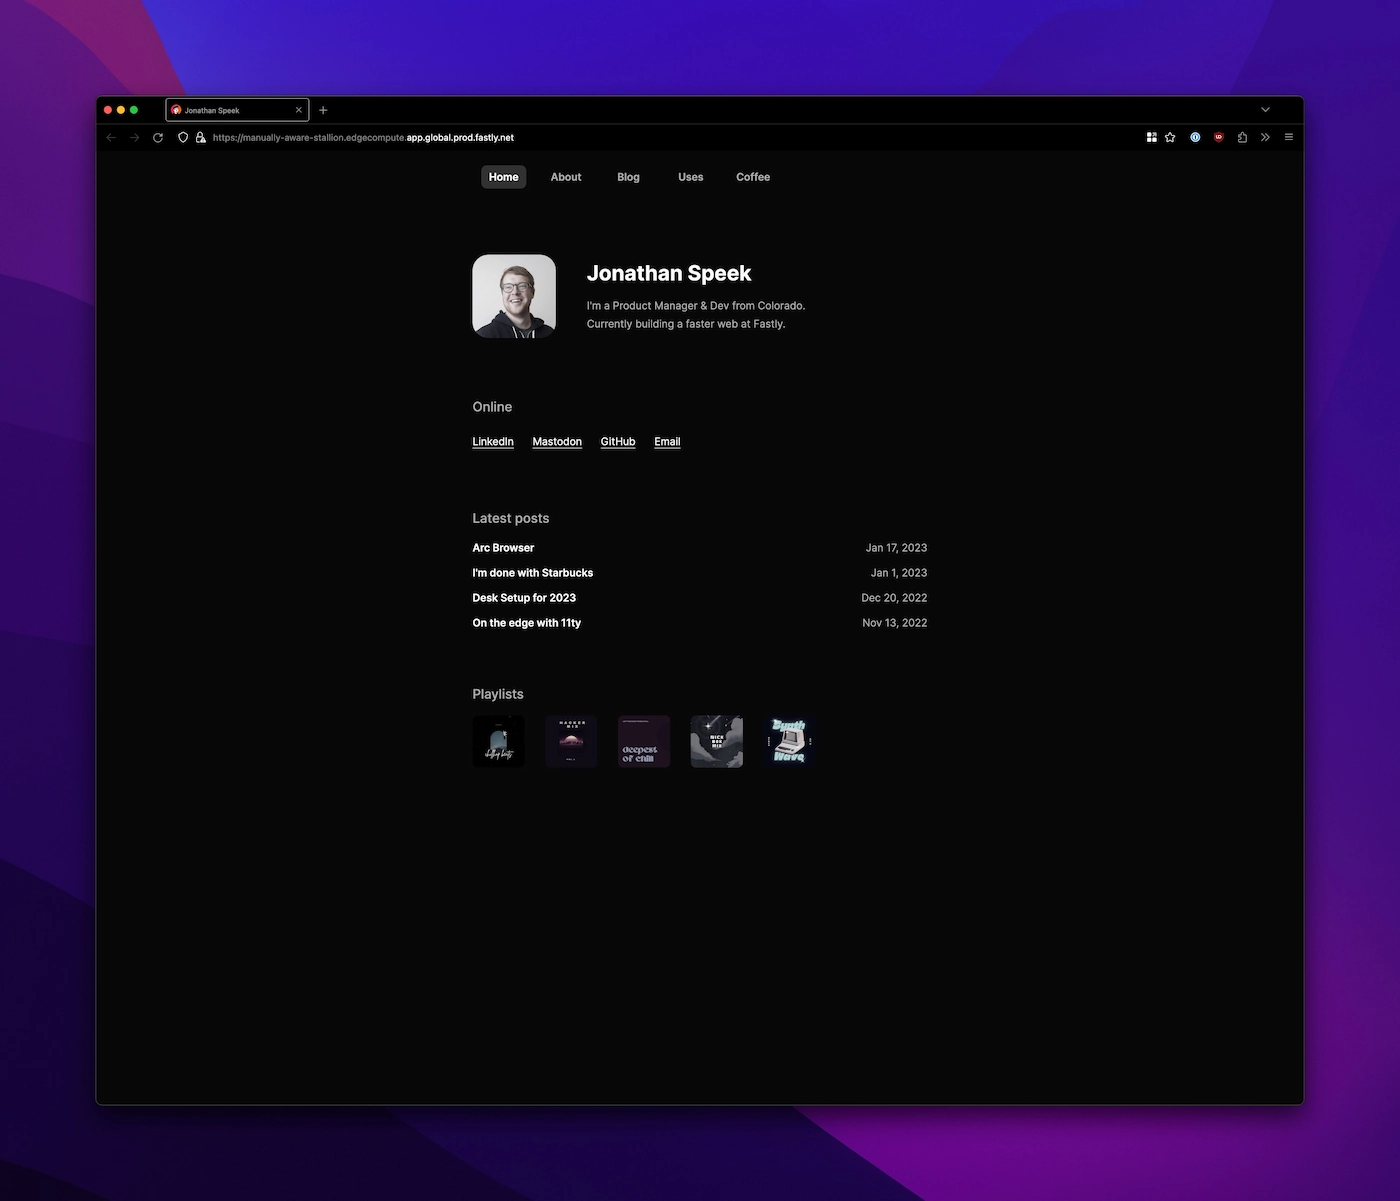
My site is built with Astro, and luckily enough, Fastly has a Static Publisher package that can take a static site and deploy it to the Edge in minutes. If you're curious of how to get up and running with a fresh Astro site, I have a nice blog post going over just that.
All I had to do was:
- run a build with
npm run build - run
npx @fastly/compute-js-static-publish@latest --preset=astro - move to the compute directory
cd ./compute-js - using the Fastly CLI, run
fastly compute publish
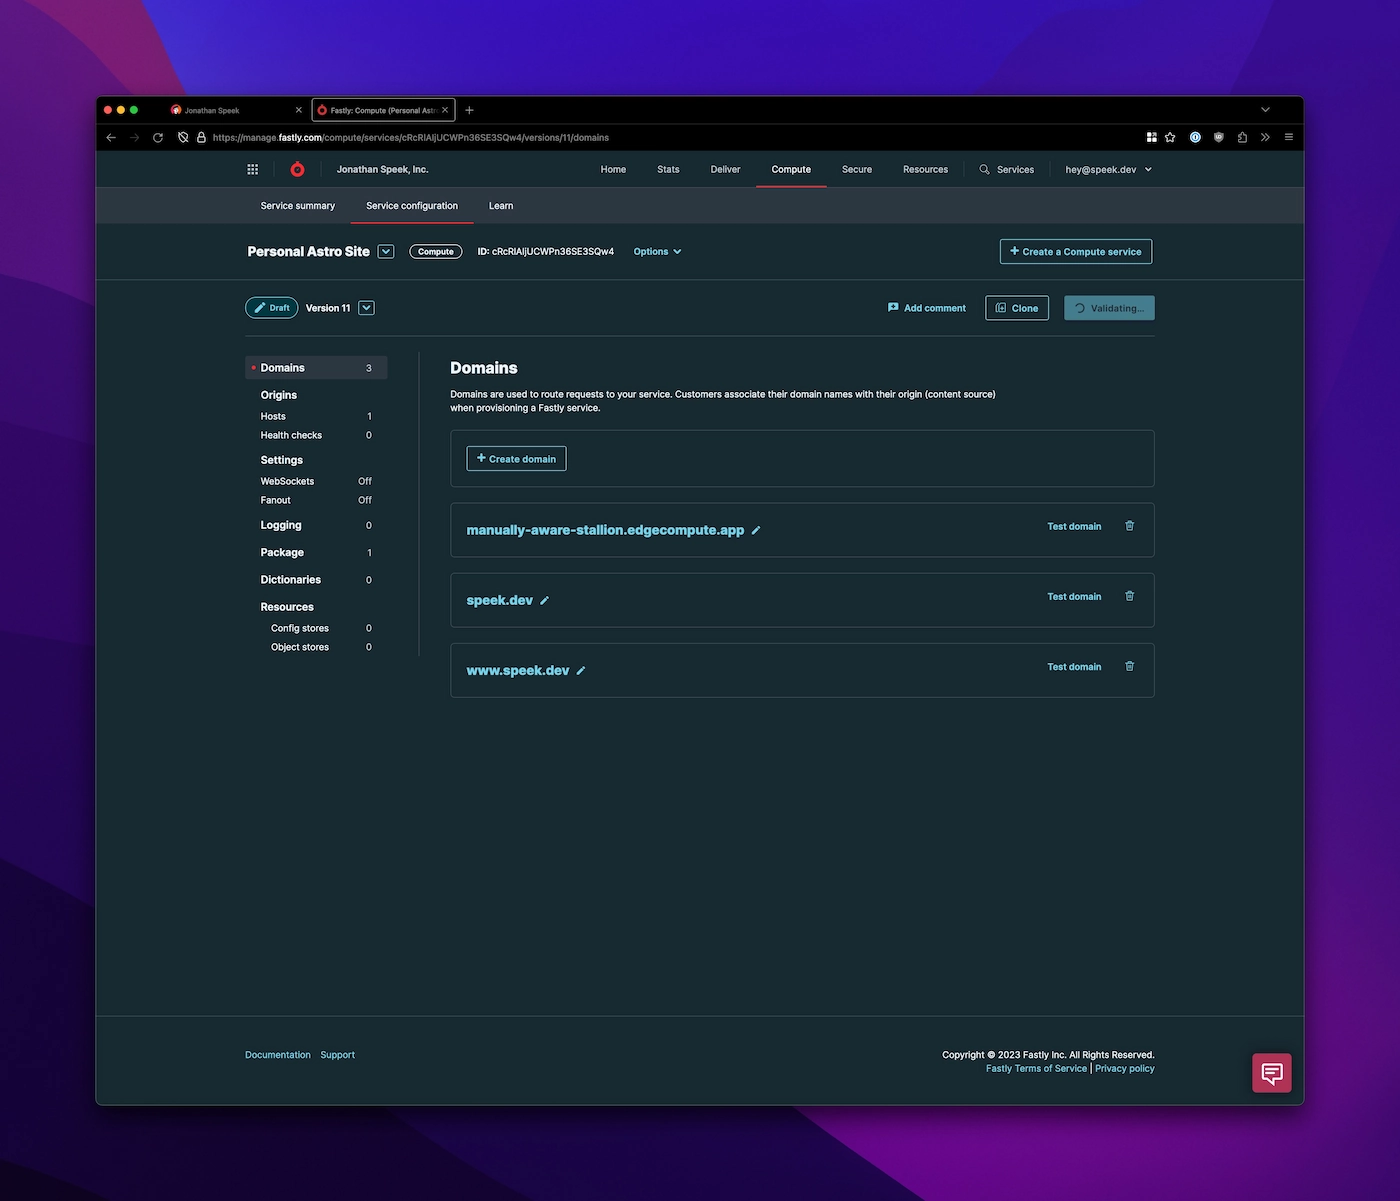
This created a new Compute@Edge service with a randomly generated domain I could go check out.
Next, in the Fastly UI I created 2 domains in the service configuration (speek.dev & www.speek.dev).
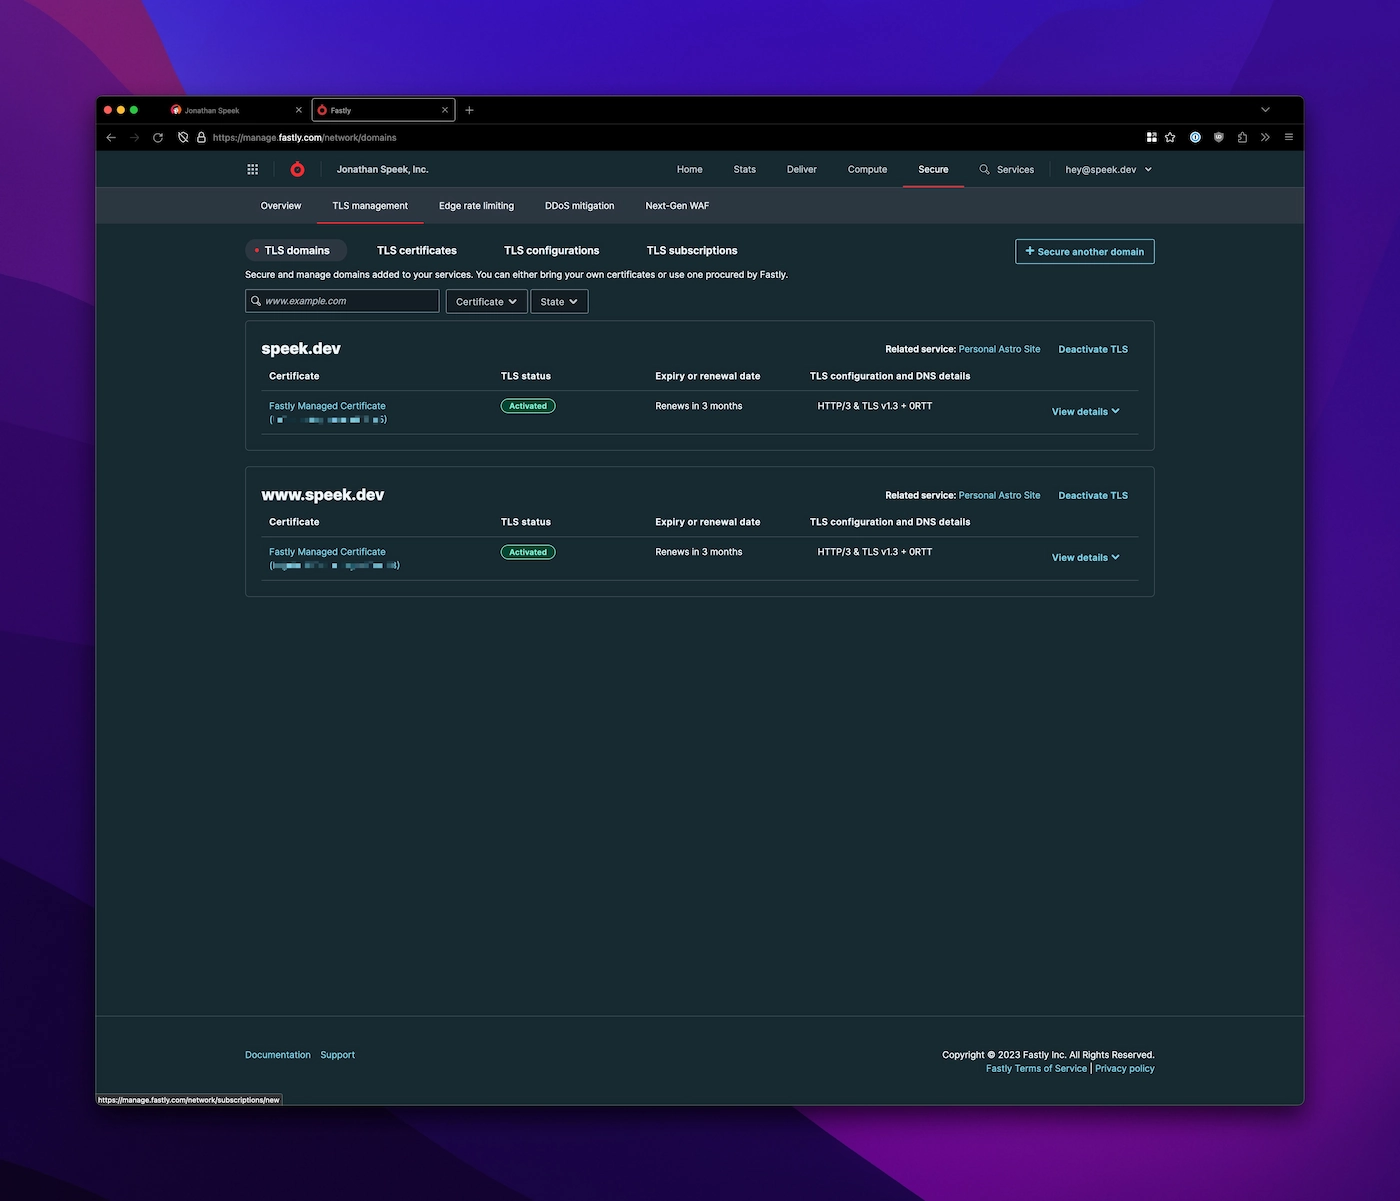
Once those were added, I could head over to the Secure tab and create my certificates. All you have to do is input your domain, select the default certificate, and click "Submit". You'll then be prompted to update some records in your DNS.
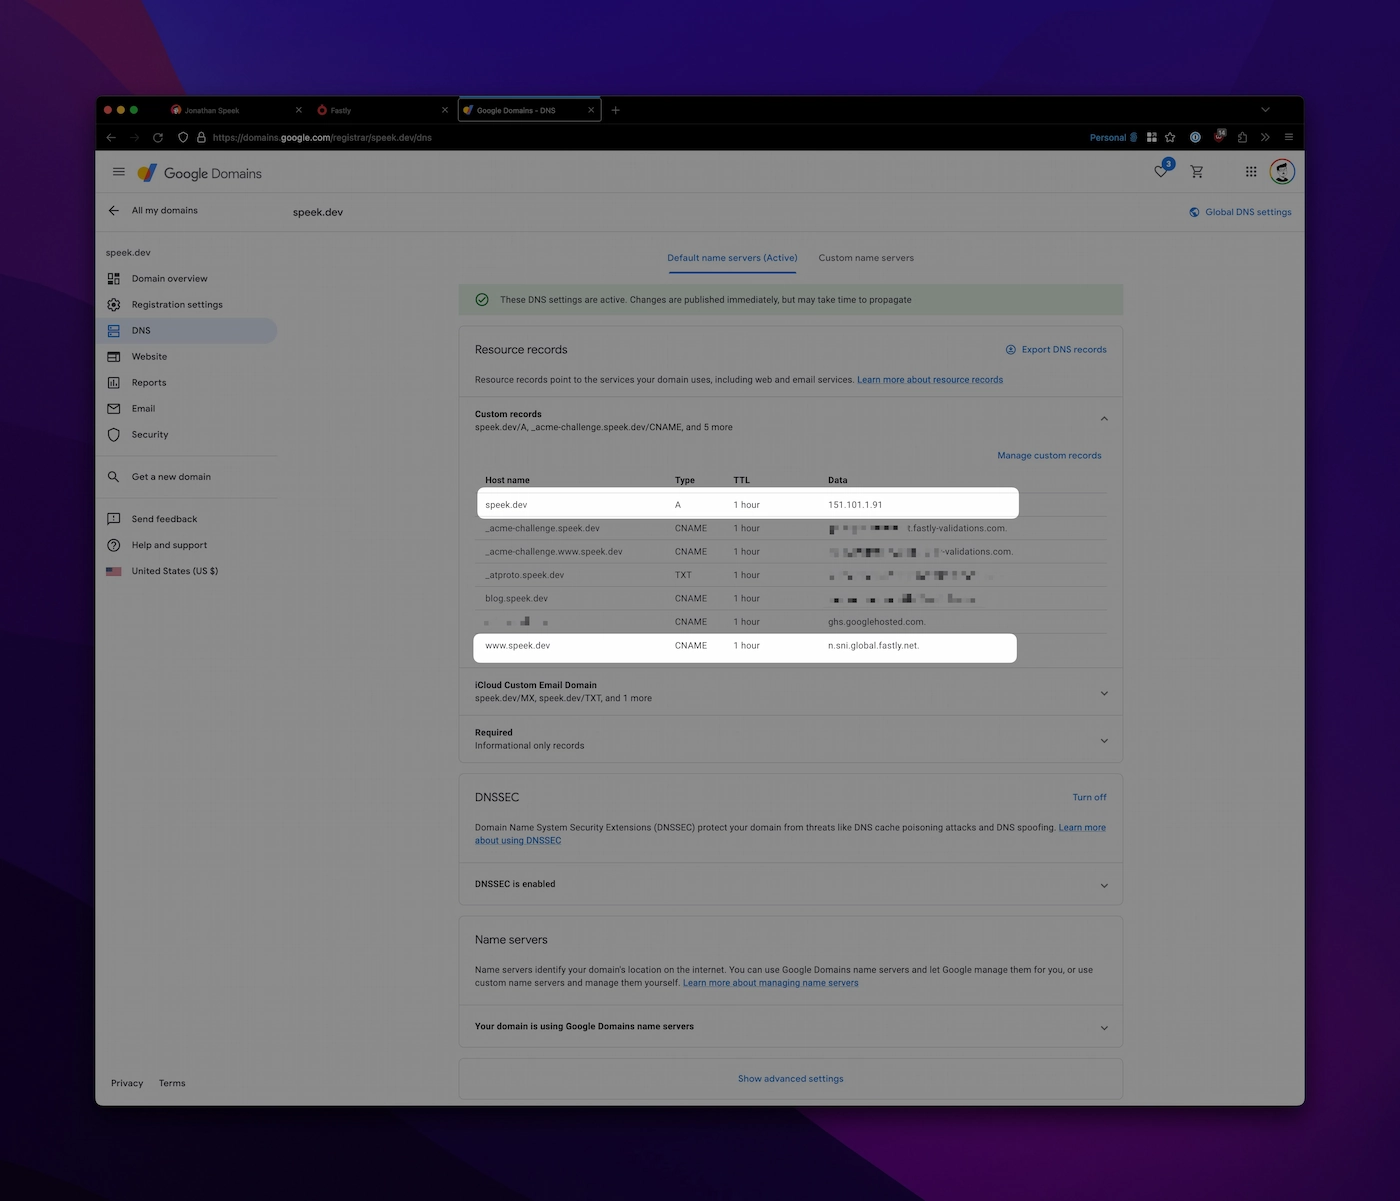
I use Google Domains as my registrar, but the process will be roughly the same for most providers. You'll want to add a new record as instructed in the prompt. Below I'm showing the records I added for both my apex domain (speek.dev) and for www.speek.dev.
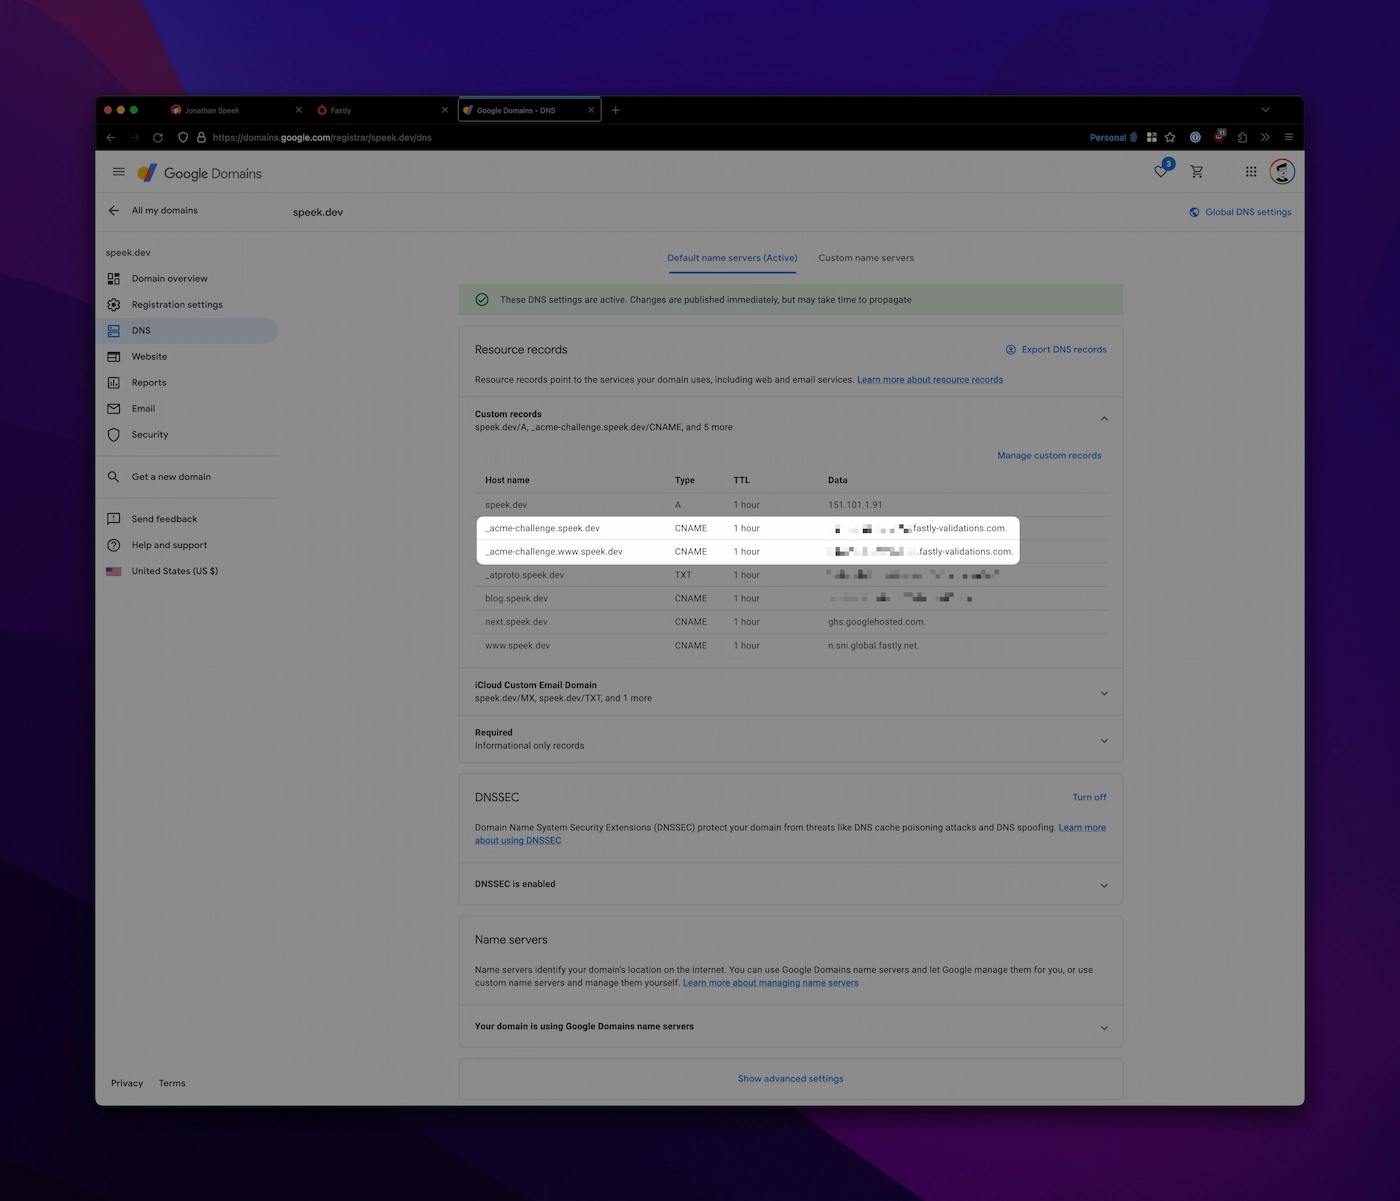
Once those records are confirmed, you'll see what to add for a CNAME record and the A record for the apex domain.
After those couple of DNS changes, I was all set - having fully moved my site over to Fastly!
In my next blog post, I'll walk through how to automate the deploy using GitHub Actions for CI 😃