In my previous post, I showed you how I migrated my Astro site and blog (this very one you’re reading) from Netlify to Fastly’s Compute@Edge using Static Publisher. Now I'm gonna walk you through how to build and deploy it using GitHub Actions.
First, create yourself a new .github directory at the root of your project. Within the .github directory, add another directory called workflows. Finally, add a deploy.yml file inside the workflows directory. It should look like this:
.github/
  workflows/
    deploy.yml
Next, inside your deploy.yml file, add the following:
name: Deploy Application
on:
  push:
    branches: [main]

jobs:
  build:
    runs-on: ubuntu-latest
    steps:
      - uses: actions/checkout@v3

      - name: Install project dependencies
        run: npm install

      - name: Build project
        run: npm run build

      - name: Install Fastly dependencies
        run: npm install
        working-directory: ./compute-js

      - name: fastly compute deploy
        uses: fastly/compute-actions@v5
        with:
          project_directory: “compute-js”
          comment: “Deployed via GitHub Actions”
        env:
          FASTLY_API_TOKEN: ${{ secrets.FASTLY_API_TOKEN }}
This will create a workflow called “Deploy Application”. The workflow will run every time you push changes to the main branch.
Under jobs, we are using the latest version of Ubuntu, installing the dependencies I’ve specified in my root directory’s package.json file. Then it’ll run a build of the site, placing the static build files in the ./dist directory (default for Astro). Next, it’s going to install the dependencies specified in the ./compute-js directory that was created by Static Publisher. Finally, it’s going to use the Fastly Compute Action to deploy the build to my Compute@Edge service, using the compute-js directory as the project-directory option.
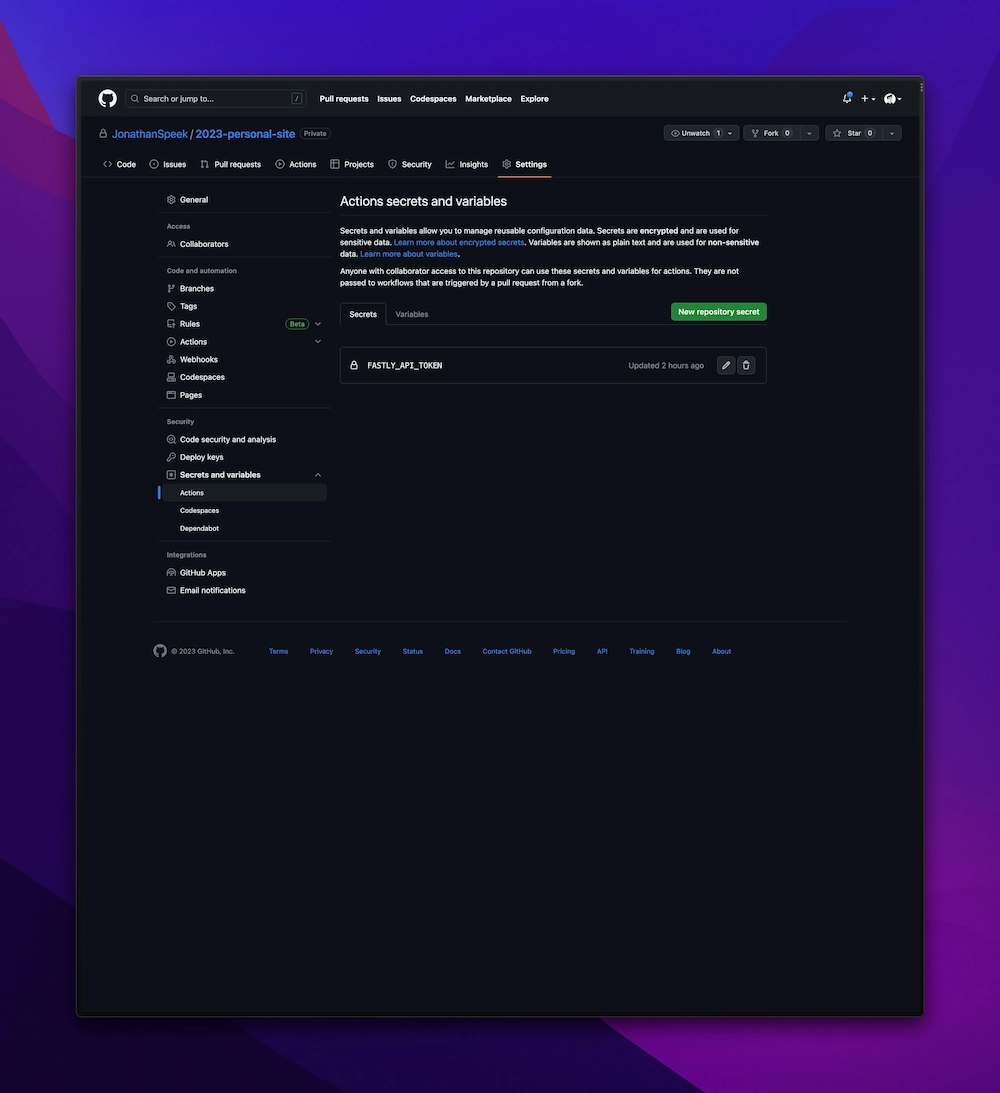
For that deploy action, we will need to use a Fastly API token - which you can grab from the Fastly UI. To store and use this token, you can head into your project’s settings, click on “Settings and variables” and then click on “Actions”. Here, you can create a “New repository secret”.
Once you’ve added that, you’re ready to push your latest changes up to GitHub (assuming you’ve done so on the branch you specified for you Action) and see it running.
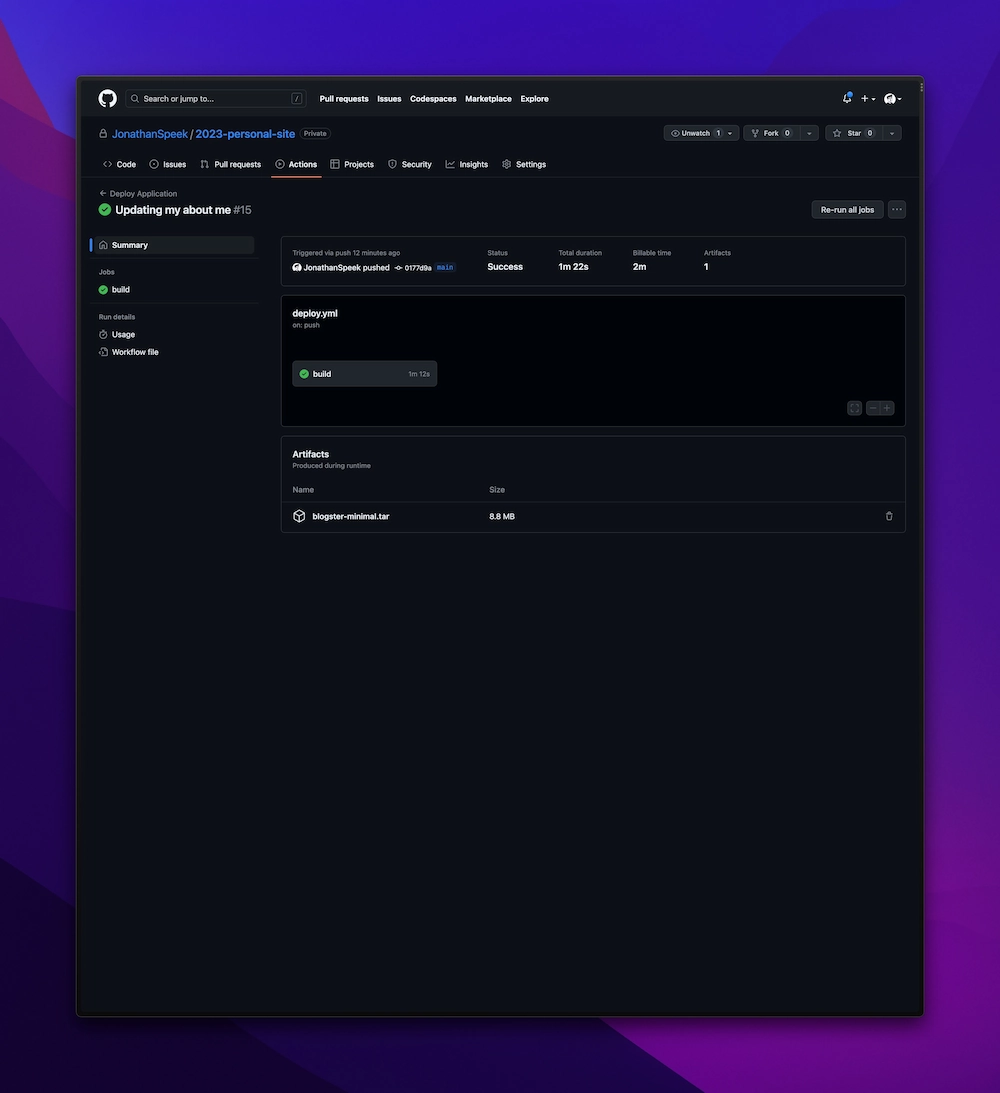
If you were to go change some content on your site - you’d be able to go see the new changes have in-fact been deployed 🎉 Since it’s running on Fastly’s Compute@Edge, there’s no need to purge the cache either 🙌